⬆ Upload
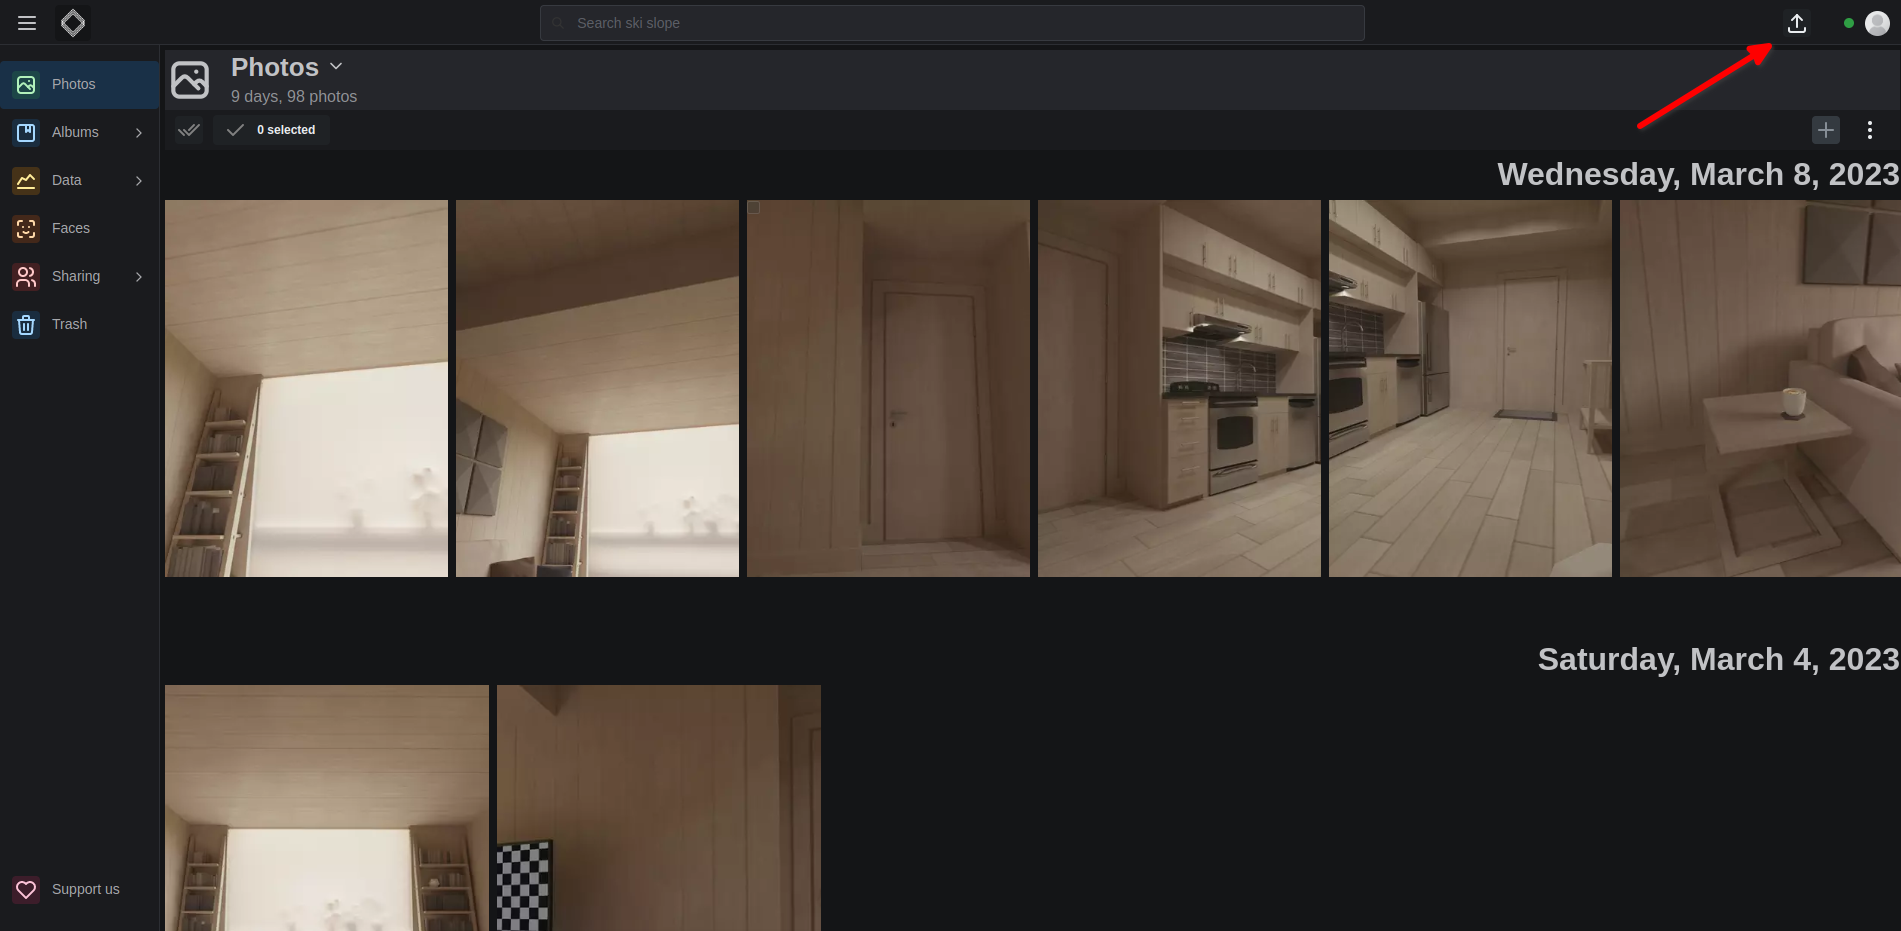 In the top right corner of the web interface, there is an upload button. Clicking it will open a file picker. You can select multiple files and upload them.
What kinds of files are supported?
We accept all files that have a mime type of image or video.
How does it work?
The upload process works in the following way:
- Check if file is on the server by comparing the hash
md5 + user_id - If it is, don't upload it
- If it isn't, upload it
- We upload files in 1MB chunks
- When each file finishes uploading, the backend registers that one photo and queues a background job chain for it (metadata and thumbnails, caption, geolocation, album dates, face extraction). No directory scan is triggered.
Where are the files saved?
The upload behavior depends on whether the user has a scan directory configured:
When scan directory is properly configured:
- Files are saved to:
{scan_directory}/uploads/web/{filename}, also when the mobile app backs them up - This is the normal and expected behavior
- Files are stored in the mounted host directory and are persistent
- An admin can point a user's uploads at a different folder with the Upload folder field in the user edit dialog (see Managing users). Files then go to
{upload folder}/web/{filename}instead.
When scan directory is NOT configured:
Uploads are blocked and nothing is written to disk.
- If your account has no scan directory set, the upload button is disabled and shows the tooltip "Scan directory not configured - contact administrator".
- If a scan directory is set but the path does not exist on the server, the button stays active, but the upload is rejected once the final chunk is submitted.
- In both cases the API responds with HTTP 400 —
"Upload failed: No scan directory configured…"or"Upload failed: Scan directory '<path>' does not exist…"— and no file is saved.
Prerequisites for upload
To use the upload feature properly, you must have:
- Upload feature enabled: Turn on
Allow uploadsin the admin area. Docker Compose users can pre-enable it by addingallowUpload=trueto their.envbefore the first start — Compose passes it to the backend asALLOW_UPLOAD(note the variable in.envisallowUpload, notALLOW_UPLOAD) - Scan directory configured: Every user must have a scan directory set up by an admin
How to configure scan directory
- Admin users only: Only admins can set scan directories for users
- Access admin panel: Click on your avatar (top right) →
Admin Area - Set scan directory: Manually set the
Scan Directoryfor each user - Verify path: The directory must exist and be accessible to the container
Activate / Deactivate the upload feature
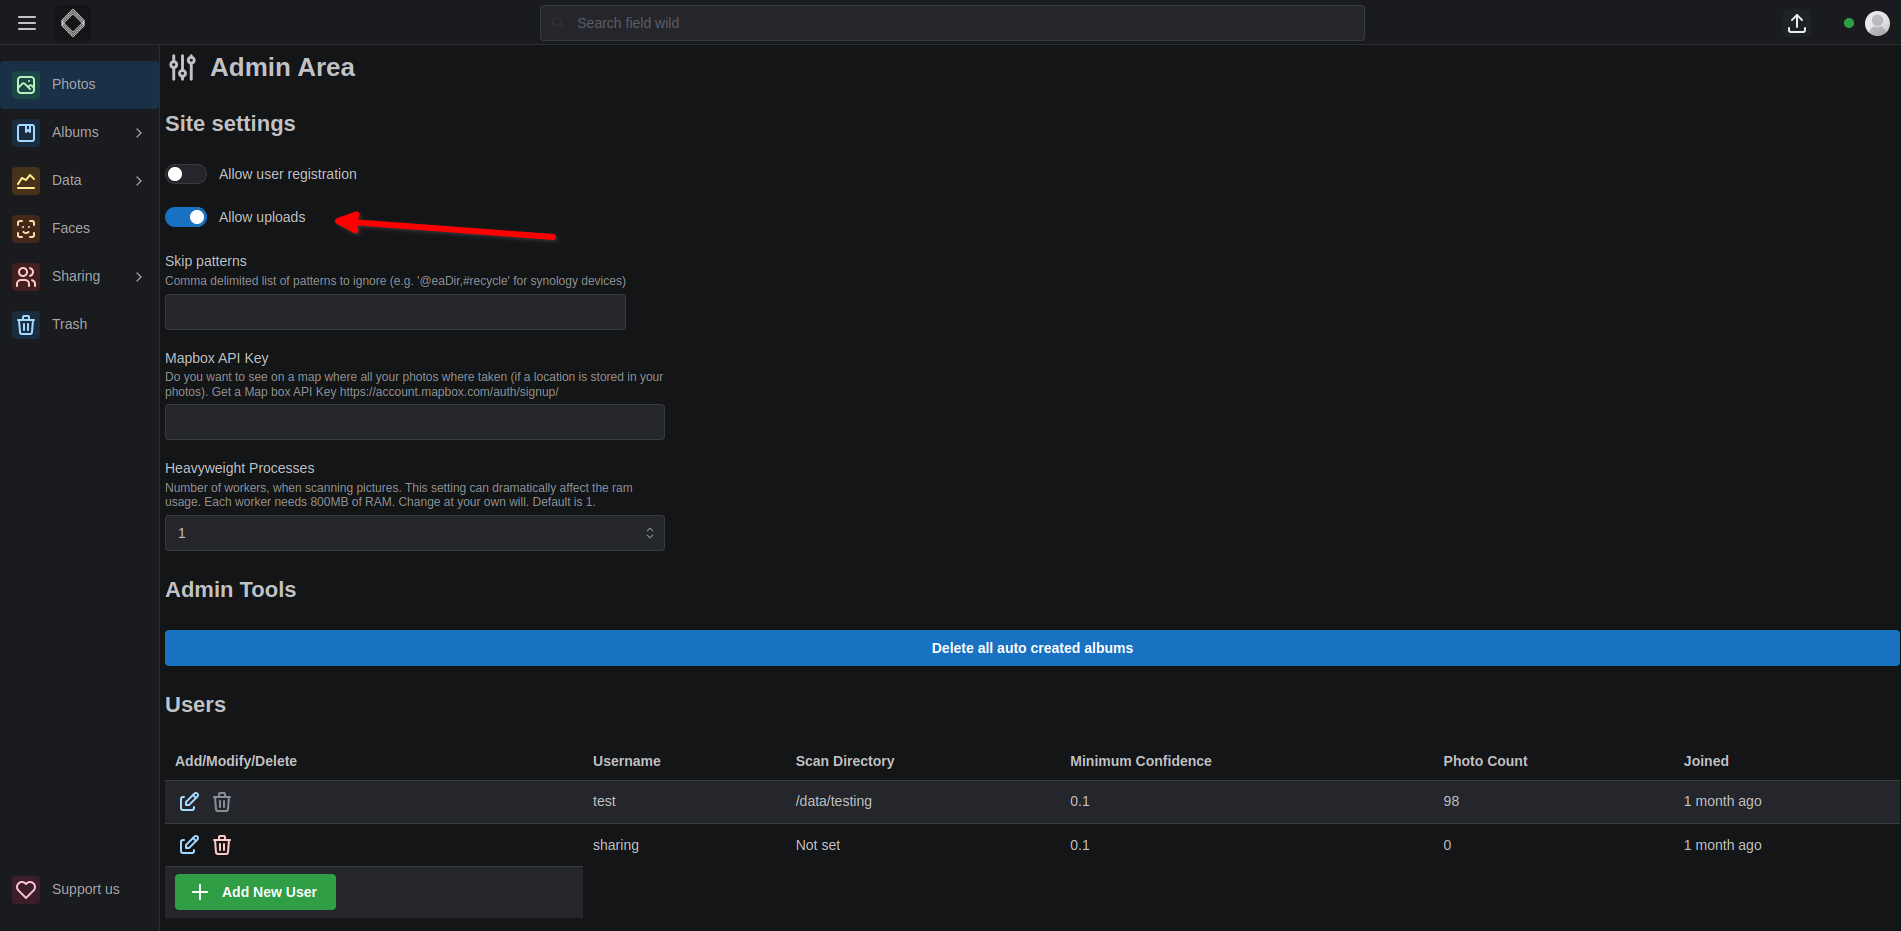
You can activate / deactivate by navigating as an admin to the admin area and clicking on the Allow uploads switch. This switch is the authoritative setting. The ALLOW_UPLOAD environment variable (set through allowUpload in your .env for the Docker Compose deployment) only supplies the initial default: once a value has been saved to the database — by toggling the switch, or by the first-time setup wizard — the stored setting wins and the environment variable is ignored.
Scanning uploaded photos
After upload, you can scan the uploaded photos in two ways:
- Automatic scanning: The upload process automatically triggers processing for the uploaded photo
- Manual scanning: You can manually scan all uploaded photos by going to the Library page and clicking the scan button. That scan covers your scan directory, so it does not reach an upload folder an admin set outside it.
Troubleshooting
Upload button is greyed out
Cause: Your account has no scan directory configured. Hovering the button shows "Scan directory not configured - contact administrator". Solution: Ask an admin to set your scan directory (see How to configure scan directory).
Upload fails with "Scan directory does not exist"
Cause: The configured scan directory path is not present inside the backend container.
Solution: Check that the path matches the ${scanDirectory}:/data bind mount in your compose file, and that the directory exists on the host.
Uploaded files disappear after container restart
Cause: The data root is not backed by a host directory. A scan directory has to live inside the backend's data root (/data by default) — anything outside it is rejected with "Scan directory must be inside the data root." — so the upload itself succeeds, but if /data is not bind-mounted, everything written there lives only in the container's filesystem and is lost when the container is recreated.
Solution: Make sure your compose file mounts a host directory at /data (the ${scanDirectory}:/data line on the backend service) and that scanDirectory in your .env points at a real, persistent path on the host.
Upload fails with permission errors
Cause: The container doesn't have write permissions to the scan directory. Solution: Check the directory permissions and ensure the container can write to the mounted directory.
Upload button not visible
Cause: Upload feature is disabled.
Solution: Toggle Allow uploads on in the admin area. Note that the allowUpload environment variable only supplies the default value: once the setting has been saved from the admin area or the first-run setup wizard, the value lives in the database and changing the env var has no effect.